How to Make the Viral Phone on the Ground Illusion
This post contains affiliate links. If you buy through them I may earn a small commission at no additional cost to you. Thanks for supporting karlieplace.com.
You've seen it: a phone sitting on the ground, filming something wild happening in the distance, and it stops your scroll cold. It looks impossible. It's not. You only need a camera, a tripod, an iPhone, and a little patience.
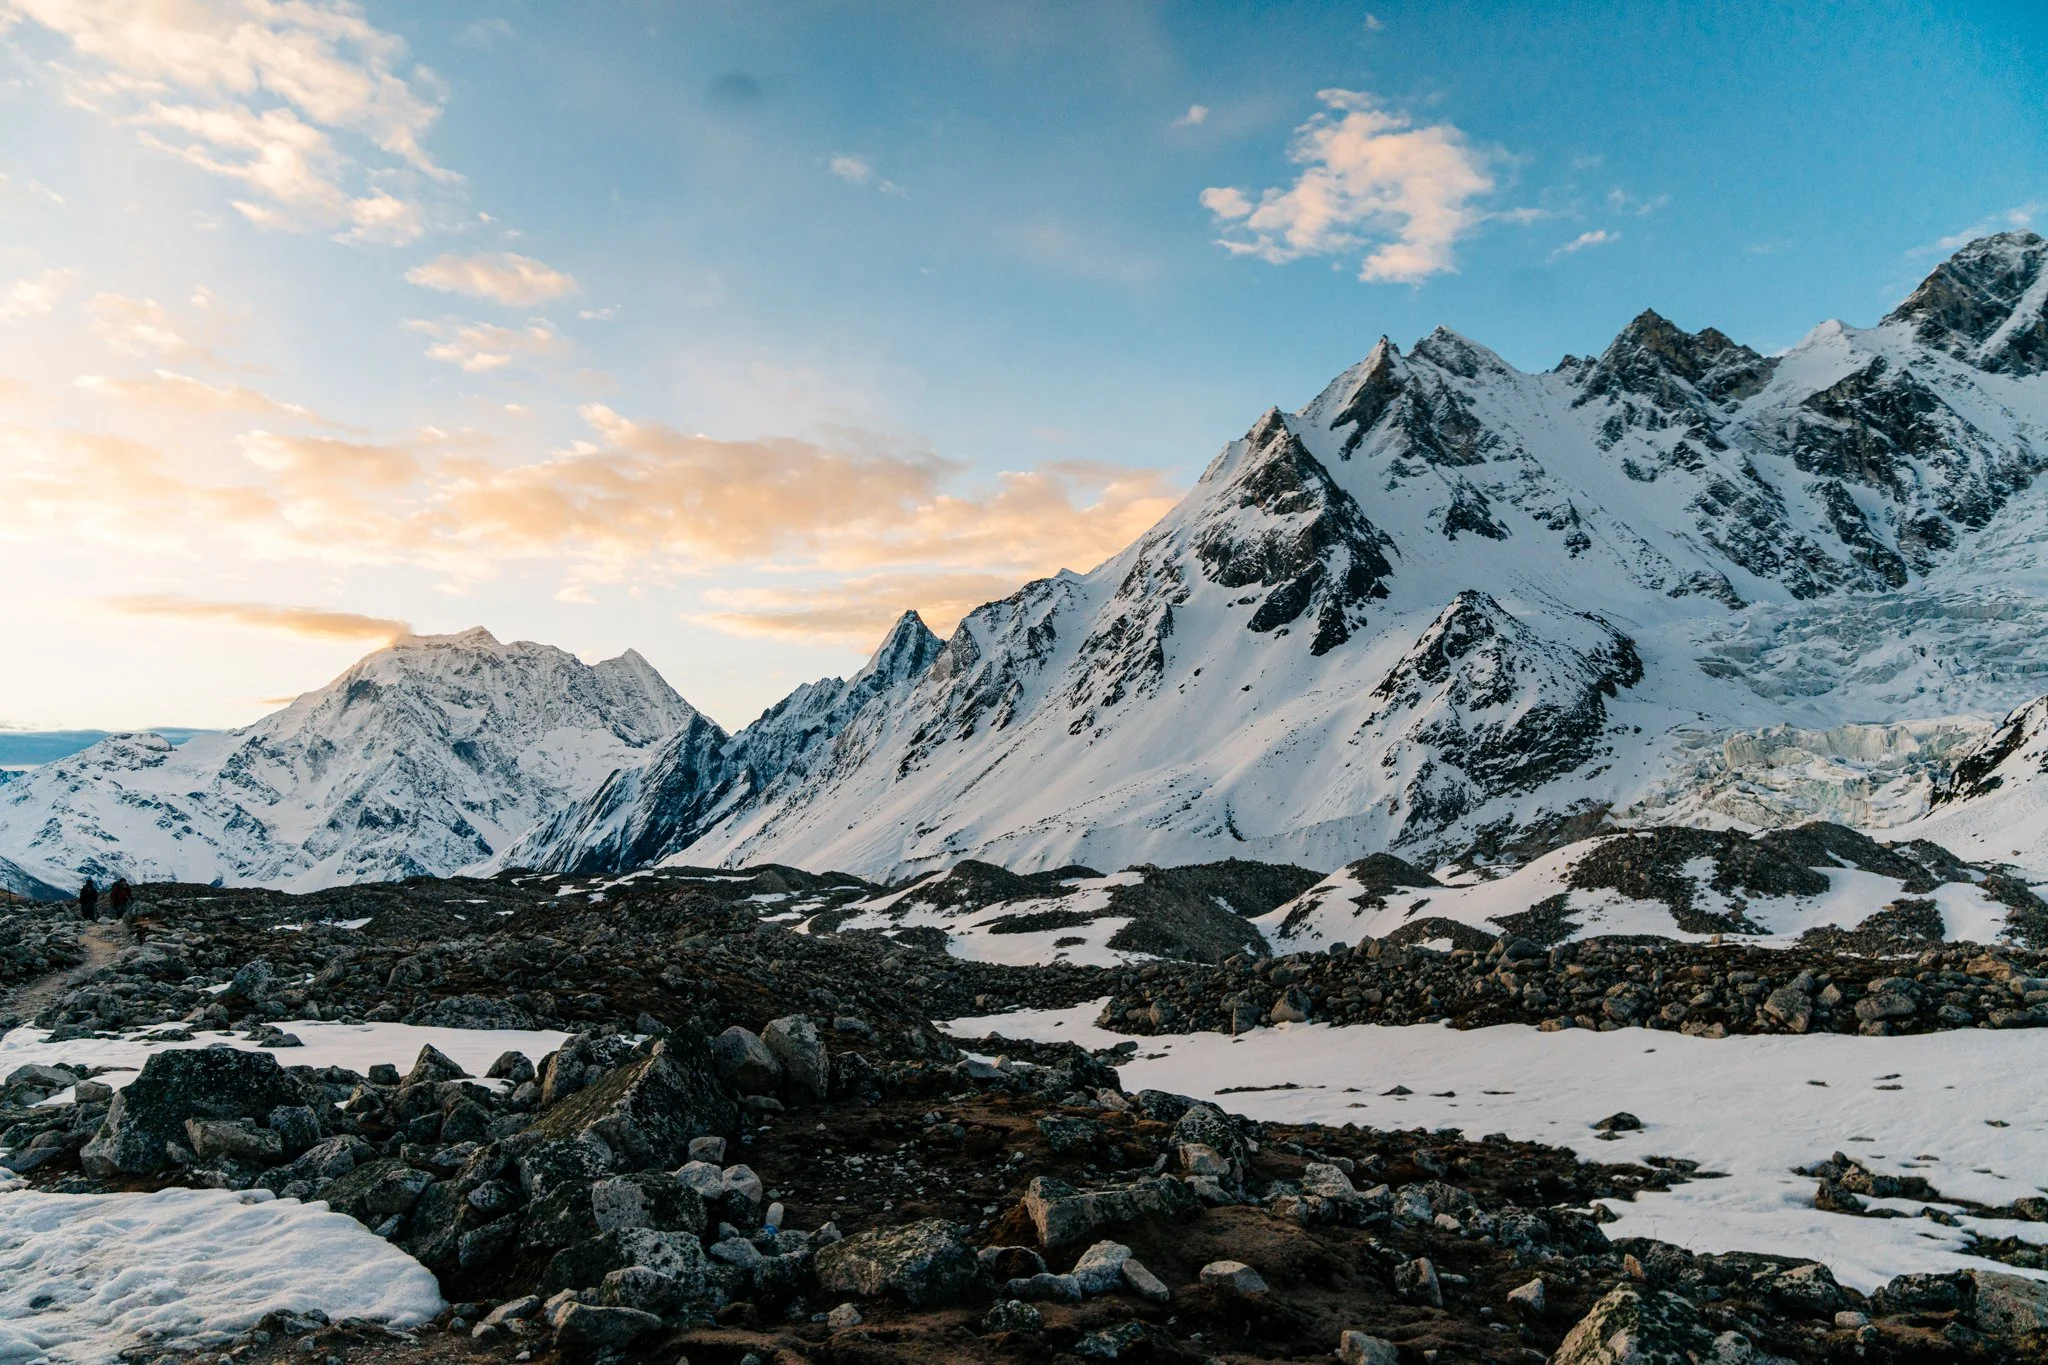
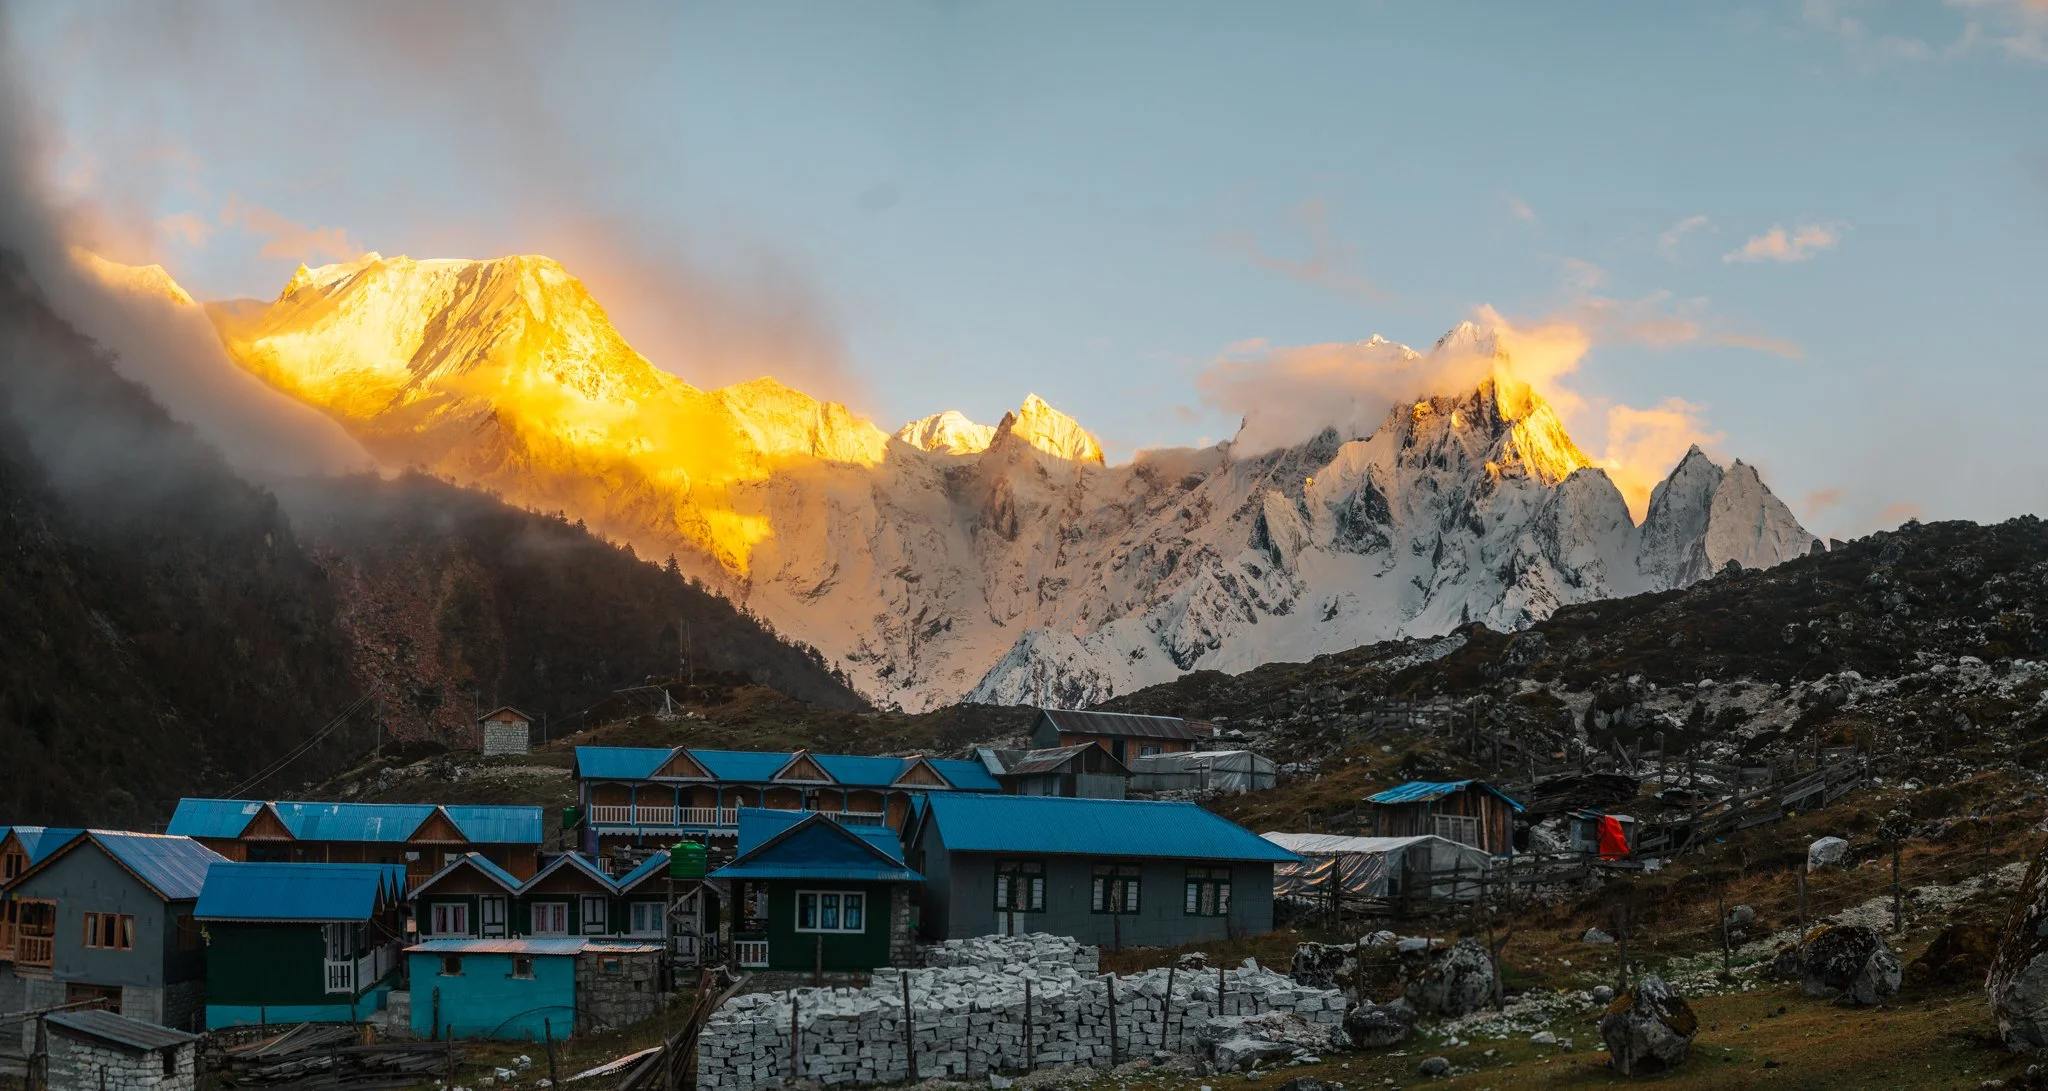
I filmed mine on top of a mountain in Nepal on my Manaslu Circuit trek, but you can do this anywhere. Here is everything you need, start to finish: shooting, editing in Adobe Premiere, and exporting, all in one place.
What You'll Need
- A camera (for the vertical "hero" shot)
- A second phone or device that can screen-record (this becomes the "phone on the ground")
- A tripod, or anything to prop your camera low to the ground
- Patience (you'll probably do a couple of takes, that's normal)
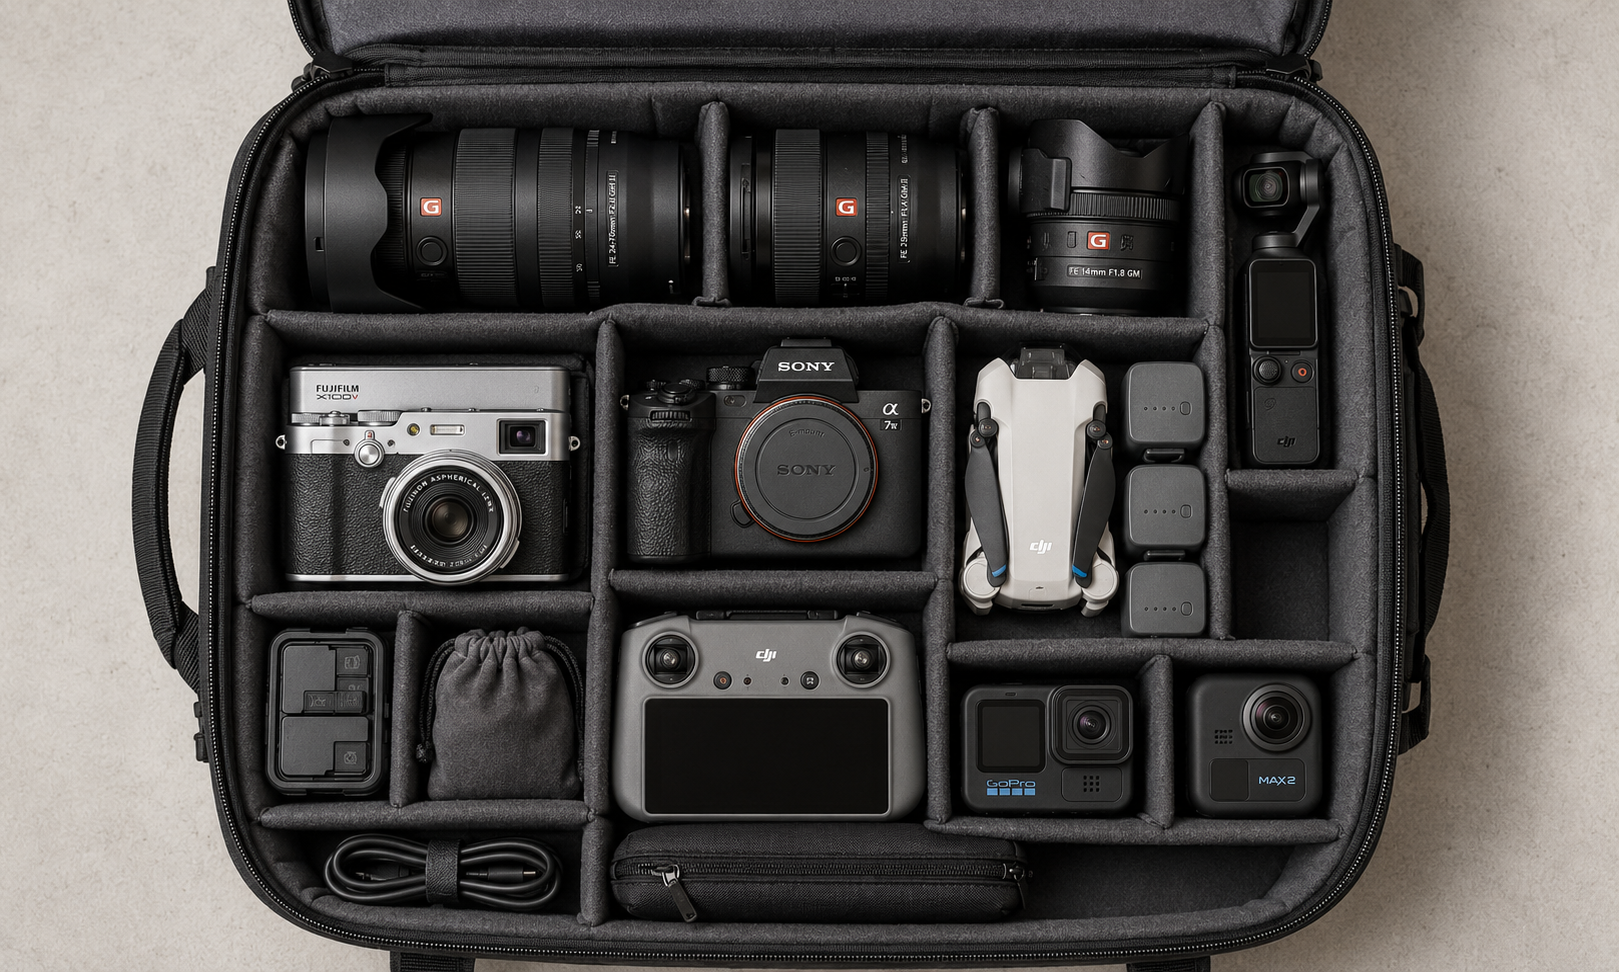
You don't need a fancy cinema camera. I shoot mine on a Sony because I love the quality, but a second iPhone works perfectly for the hero shot. Use whatever you have. Everything in my kit, the camera, lenses, tripod, and the little bits that make this easier, is in my full camera gear list.
Part 1: Shooting the Footage
The whole trick is filming two things at once and lining them up later.
1. Set up your iPhone to record AND screen-record at the same time. Lay your iPhone down and have it film horizontally. Then start a screen recording at the same time. You're doubling up on purpose: you want both the video the phone is "capturing" and the screen recording of it capturing.
Before you hit record, turn on Do Not Disturb (or a Focus mode). A text or banner notification popping up mid screen-recording will ruin the take, and you won't notice until you're editing. Also turn your screen brightness all the way up, the screen recording is what gets composited onto the phone later, so a bright screen reads as real.
2. Prop your iPhone on the ground. In my case, I pressed it into the snow. Anywhere it sits steady and low works.
Lock focus and exposure on the iPhone. Press and hold on the screen until you see AE/AF Lock. Otherwise the phone will refocus or re-expose the second you run into frame, and the screen recording won't match the hero shot.
3. Set up your camera shooting vertically, low to the ground. Put your camera on the tripod, vertical (9:16), really low so it sees the phone in the foreground and the scene behind it.
4. Hit record on everything, then run into frame. Start the iPhone screen recording, start the camera, and then run out into the distance, the "something wild happening" the phone appears to be filming.
Don't get discouraged if you don't nail it on the first try. My first take, I almost ran straight through my trekking pole. Just reset and go again with a slightly different angle. Two or three takes is totally normal.
Match your frame rates. Shoot the hero camera and screen-record at the same frame rate (both 30 or both 60). If they're different, the two layers drift out of sync as you scrub and the alignment in Part 2 fights you the whole way. And once the iPhone is placed, do not bump it between takes, if it moves, your masks won't line up.
Two tips that make a big difference
Compress the background. If you have a zoom lens, or you zoom in a bit on your phone, whatever is running out in the distance gets that nice compressed, stopped-scroll look. It flattens the depth and makes the subject pop.
Pick a flat-ish surface. A flat surface is ideal for getting the phone and the angle to line up cleanly. That said, I've shot this on both an incline and a decline and it worked out fine, it just takes a little more time framing things up.
Part 2: Editing in Adobe Premiere
Now bring it all to your computer and open Adobe Premiere.
Heads up on versions: the Object Mask tool we use below is an AI feature in the newer Premiere builds (2024 and later). If you don't see it, update Premiere first, otherwise you'll be masking the phone by hand the whole way through.
1. Create a new project and import your media, the vertical video from your camera, and the screen recording from your iPhone.
2. Drag the vertical video into the timeline first. Doing this first locks your sequence to the right vertical dimensions automatically.
3. Trim the vertical clip down. Move the playhead to where you want the footage to start. Press Q to delete everything before the playhead. Move to where you want it to end and press W to delete everything after the playhead.
4. Add the iPhone screen recording. Drop it onto the timeline above your vertical clip. Find the moment your foot or shoe first comes into frame, then trim the beginning and end the same way.
5. Delete the audio from the screen recording. You don't need it.
6. Roughly align and size the screen recording to the phone. Scale the screen recording down so it's about the same size as the phone in your vertical video. Then scrub forward until you come into frame on the vertical footage, that's your timing reference for syncing the two. Make small adjustments until the action lines up.
7. Fine-tune the size. Zoom in on your program monitor so you can see exactly what you're doing, and nudge the screen recording until it sits right on top of the phone's screen.
8. Nest the screen recording. Right-click the screen recording clip and choose Nest. This resets all the transform settings you just changed, it goes flat again, which is what you want for masking.
Where people get stuck: after nesting, do all of your masking on the nested clip, not the original. If you find yourself re-dragging the screen recording around after this step, you're on the wrong layer. Name the nest something obvious so you don't lose track.
9. Toggle the nested layer off for a moment so you can see your base clip.
10. Make an object mask on the phone. Click your base clip (the vertical video), go to the Object Mask tool, and click the iPhone. Premiere takes a second to analyze the frame, then creates a mask around the phone.
If the object mask grabs the wrong thing, it's almost always low contrast between the phone and the ground (my white case nearly matched the snow). Click a cleaner spot on the phone, or lean on the pen-tool mask in the next step. The masks also need a beat to track once you press play, give it a second before you judge it.
11. Copy that mask onto the nested screen recording. Select the object mask, press Cmd + C to copy. Click the nested sequence, go to Unassigned Masks, and press Cmd + V to paste it on. Then drag that mask down onto the Opacity property.
You'll see it perfectly mask around where the snow (or ground) comes up over the phone, that's what sells the realism.
12. Build a second mask for the edges of the case. The screen recording still spills over the outside of the iPhone. (An object mask on just the black screen didn't grab it cleanly for me because my white case was too close to the snow color, so we'll do it by hand.)
- Click the nested sequence, go back down to the masks, and choose the Pen Tool mask.
- Turn off the nested sequence so you can see the iPhone clearly, then draw around the outside of the case. One point in each curved section is plenty, you can always go back and adjust. Don't worry about the bottom; the object mask already handles that.
13. Subtract the pen mask. Take your new pen mask and drag it below the object mask in the dropdown. Switch its blend mode to Subtract, then Invert it. This shaves away the corners spilling past the case. Make tiny adjustments so the bottom edge stays nice and crisp.
14. Clean up the start and end. At the very beginning and end of the clip, shave off a little more of the base so nothing peeks through.
15. Finish it. From here you can nest the whole thing as one sequence, chop it up however you like, and color grade each element to match. Watch it back, that's the magic moment.
One color note: screen-recorded footage usually reads more saturated and contrasty than your camera footage. Grade the two layers toward each other or the phone's screen will look "pasted on." If editing is the part you want to actually get good at, that's exactly what I teach inside Shadow Me, and you can grab my presets in my shop for a starting look.
Part 3: Exporting
You want a clean, high-quality vertical file ready for Instagram, TikTok, and YouTube Shorts.
- Go to File > Export > Media (or hit Cmd + M).
- Format: H.264
- Resolution: 1080 x 1920 (vertical 9:16)
- Frame Rate: match your source footage (24, 30, or 60 fps)
- Bitrate: VBR, 2-pass, target around 10 to 16 Mbps for crisp quality
- Export with no watermark and no burned-in music if you plan to re-upload the original file anywhere, keep a clean master.
- Hit Export and you're done.
Match the export frame rate to what you shot. If you ran fast and shot 60 fps, export 60 so the motion stays smooth. Exporting 60 fps footage at 30 will judder the very moment that makes this trend pop. Add your music in the app (Reels, TikTok) instead of burning it in, so you keep one clean master to re-upload everywhere.
That's a Wrap
That's the whole thing: shoot two angles, line them up, mask the phone, color grade, export. It looks like wizardry but it's really just patience and a couple of masks.
If you want the exact gear I used for this, it's all in my camera gear list. And if you make one, I'd love to see it, tag me on Instagram so I can check it out. Now go stop some scrolls.
Created with Adobe Premiere.
More on the Blog