How to Book the Manaslu Circuit Trek: A Step-by-Step Guide for First-Time Trekkers
By Karlie Place
This trip changed my life.
I'm going to say that up front so you know where I stand, because I want you to take seriously what I'm about to walk you through. The Manaslu Circuit Trek was one of the most extraordinary experiences I've ever had, and the way you book it matters. The right guide team turns this trek from a logistical nightmare into the trip of your life. The wrong one turns it into something you'll regret.
This post is the no-nonsense, step-by-step guide to booking this trek for the first time. It's for people who want to actually go, not just dream about it. If you've already decided that this trek is something you want to do, start with the gut-check section below, then follow the steps in order. I've put everything in here that I wish someone had told me before I flew.
I don't have an affiliate link for this trek, and I'm not getting paid to recommend Ecuatraveling. I just genuinely loved my experience with them.
First: Is This Trek Right for You?
Before you do anything else, sit with these questions honestly. The Manaslu Circuit is not a casual trek. If you can answer "yes, or I'm okay with that" to most of them, you'll thrive. If most of them give you pause, this might not be your year, and that's okay.
- Am I okay walking 8 to 10 miles a day for nine straight days, often on uneven terrain with significant elevation gain?
- Am I okay being off the grid (intermittent Wi-Fi, no cell service for stretches) for two weeks?
- Am I okay with two to three nights where there's no shower at all?
- Am I willing to take a prescription medication (Diamox) to help with altitude sickness?
- Am I willing to invest meaningful money (around $2,000+ for the trek itself, plus another $1,500 to $2,500 in flights and gear) into a single trip?
- Do I have someone in my life who would come with me, OR am I okay traveling internationally and trekking alongside guides without a friend? (This trek requires a minimum of two trekkers per group.)
- Am I emotionally ready to be away from my normal life for two weeks and come home a little bit changed?
If most of those land softly, keep reading. Let's actually do this.
Step 1: Do Your Research
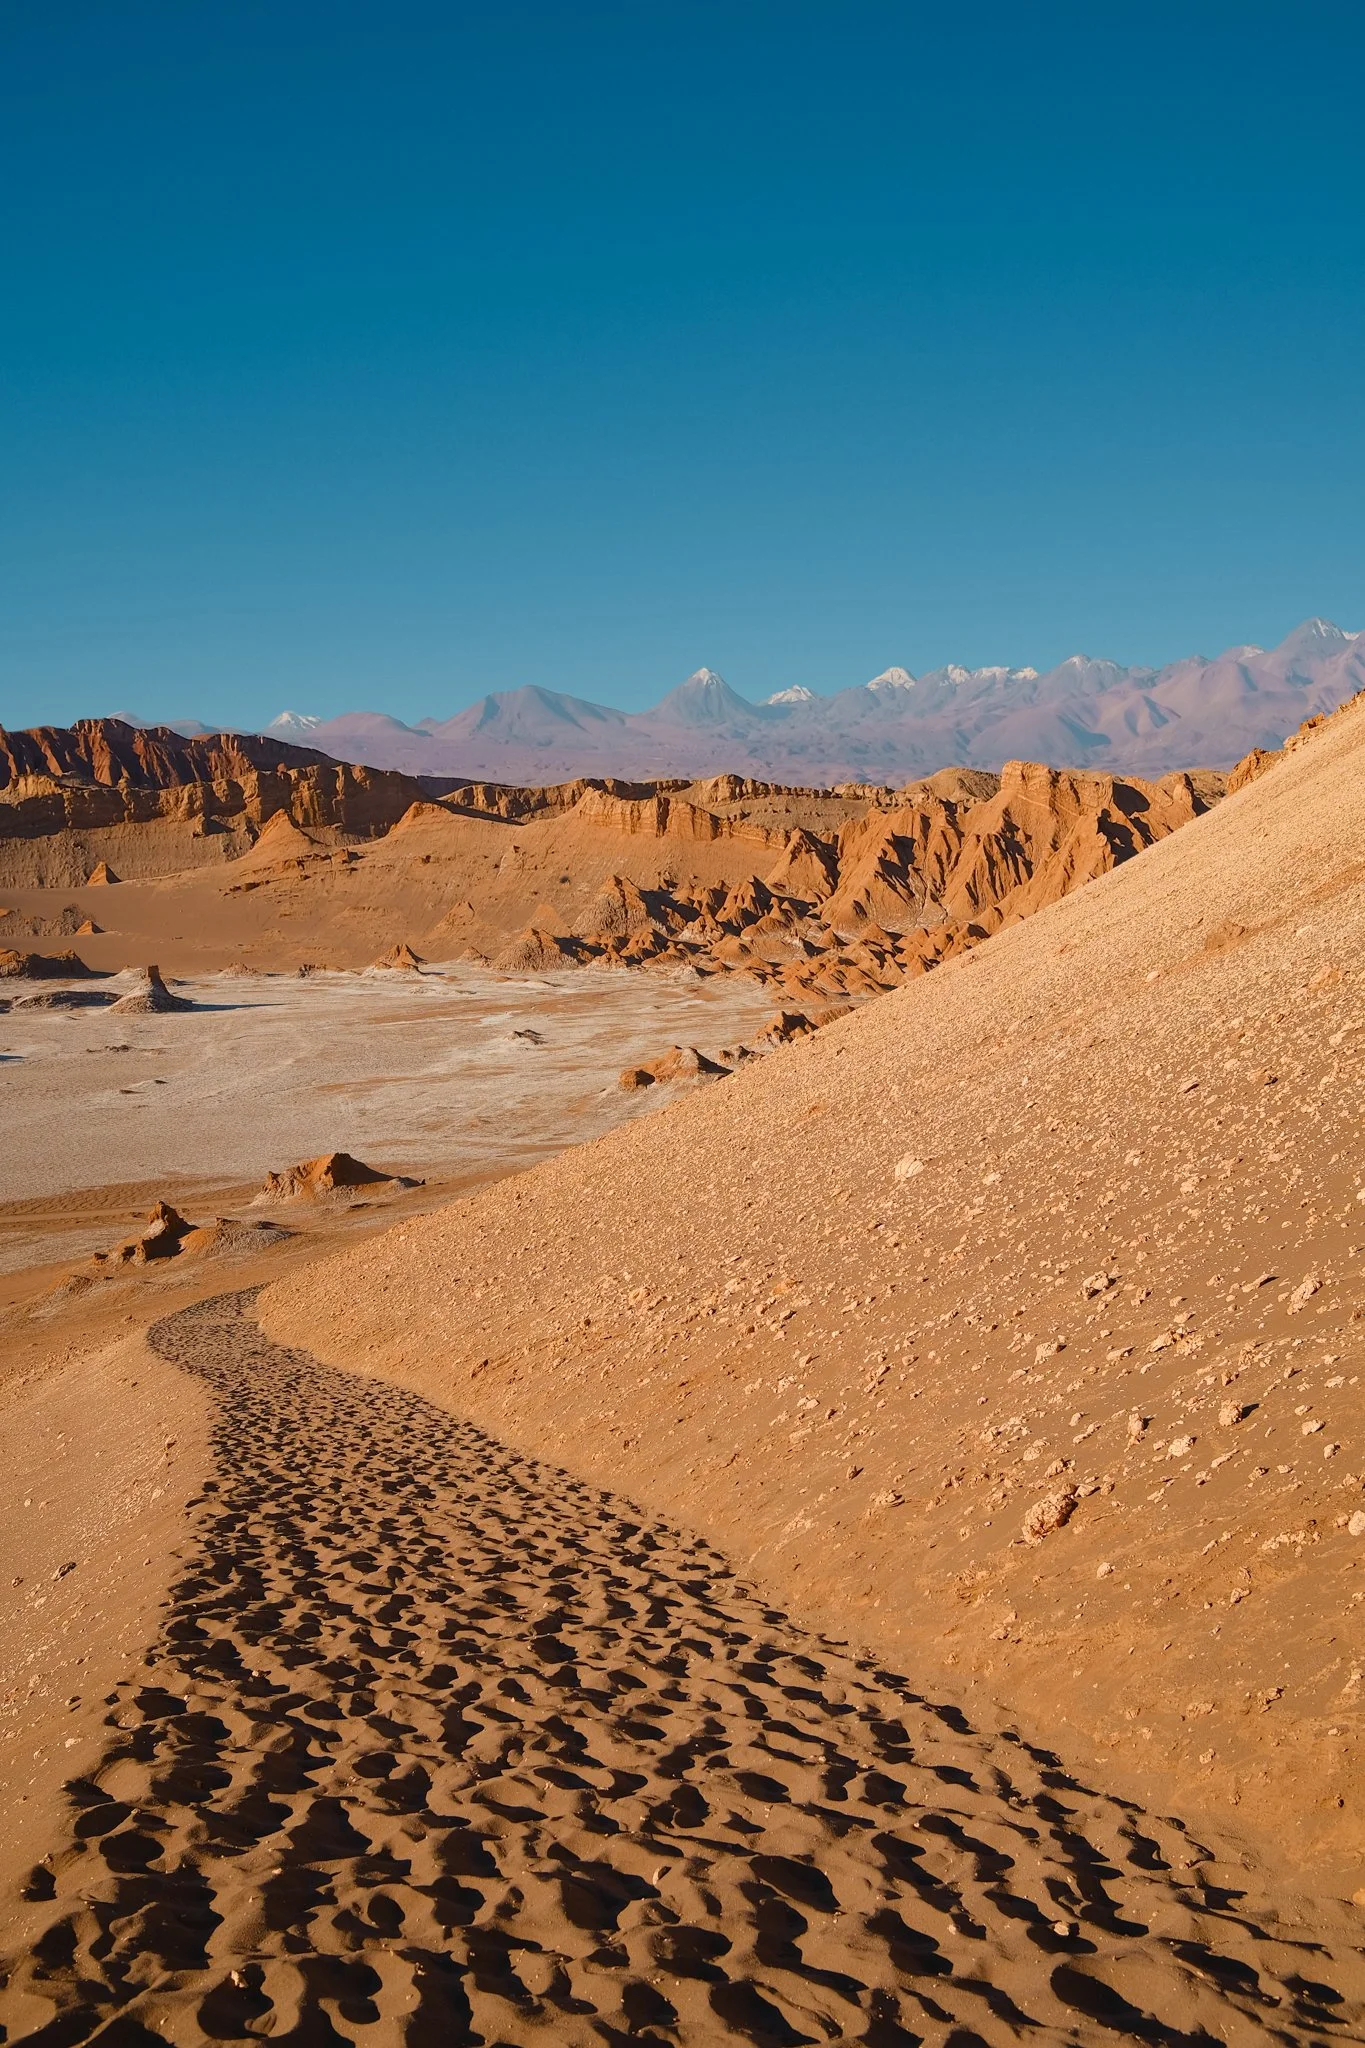
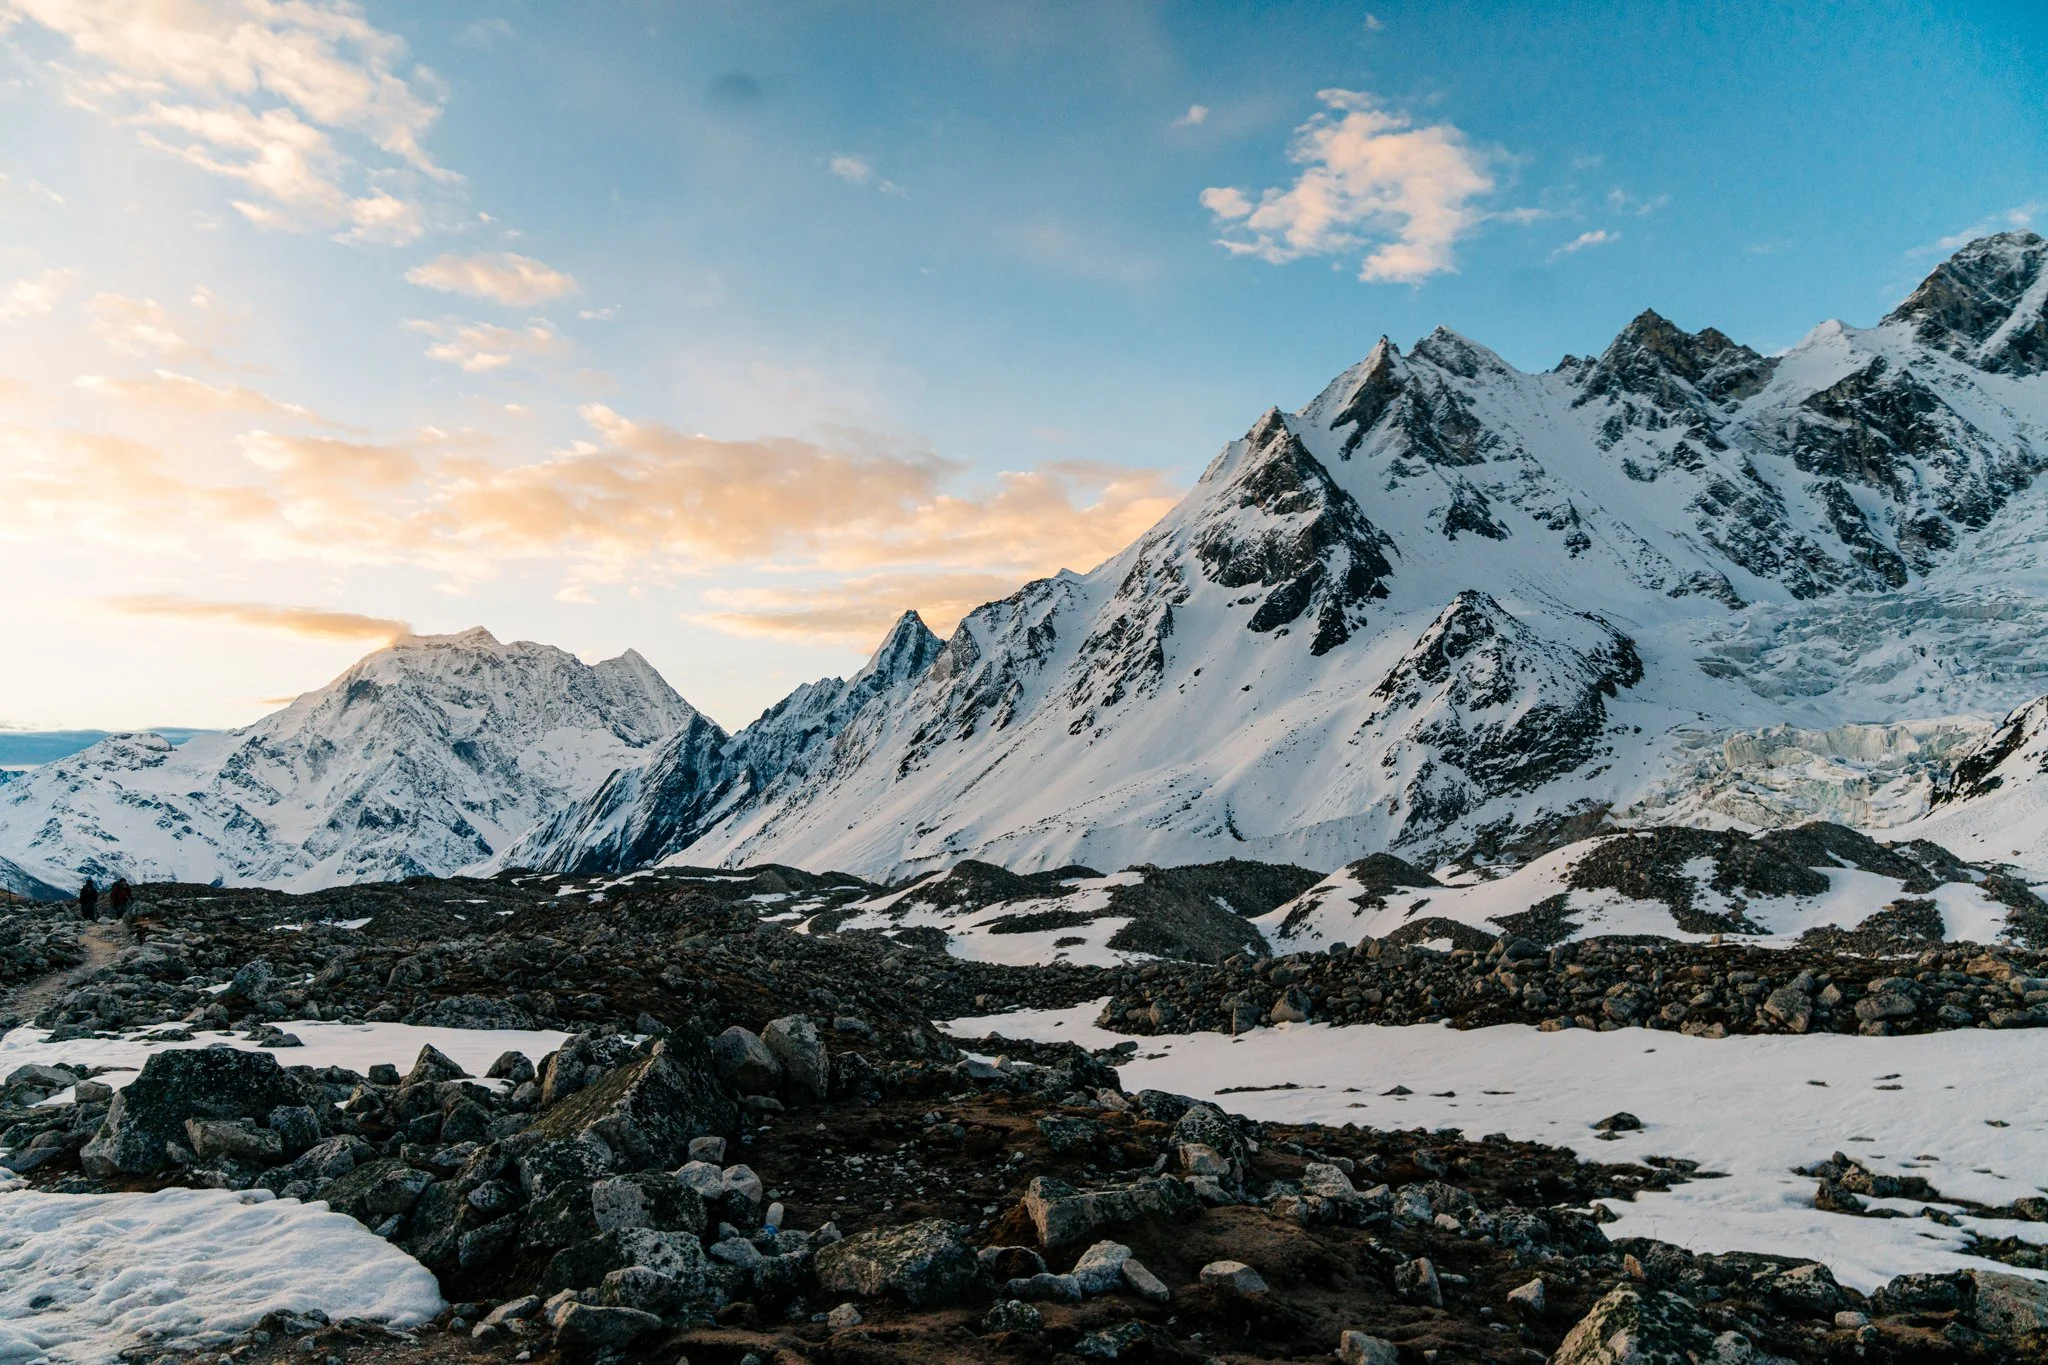
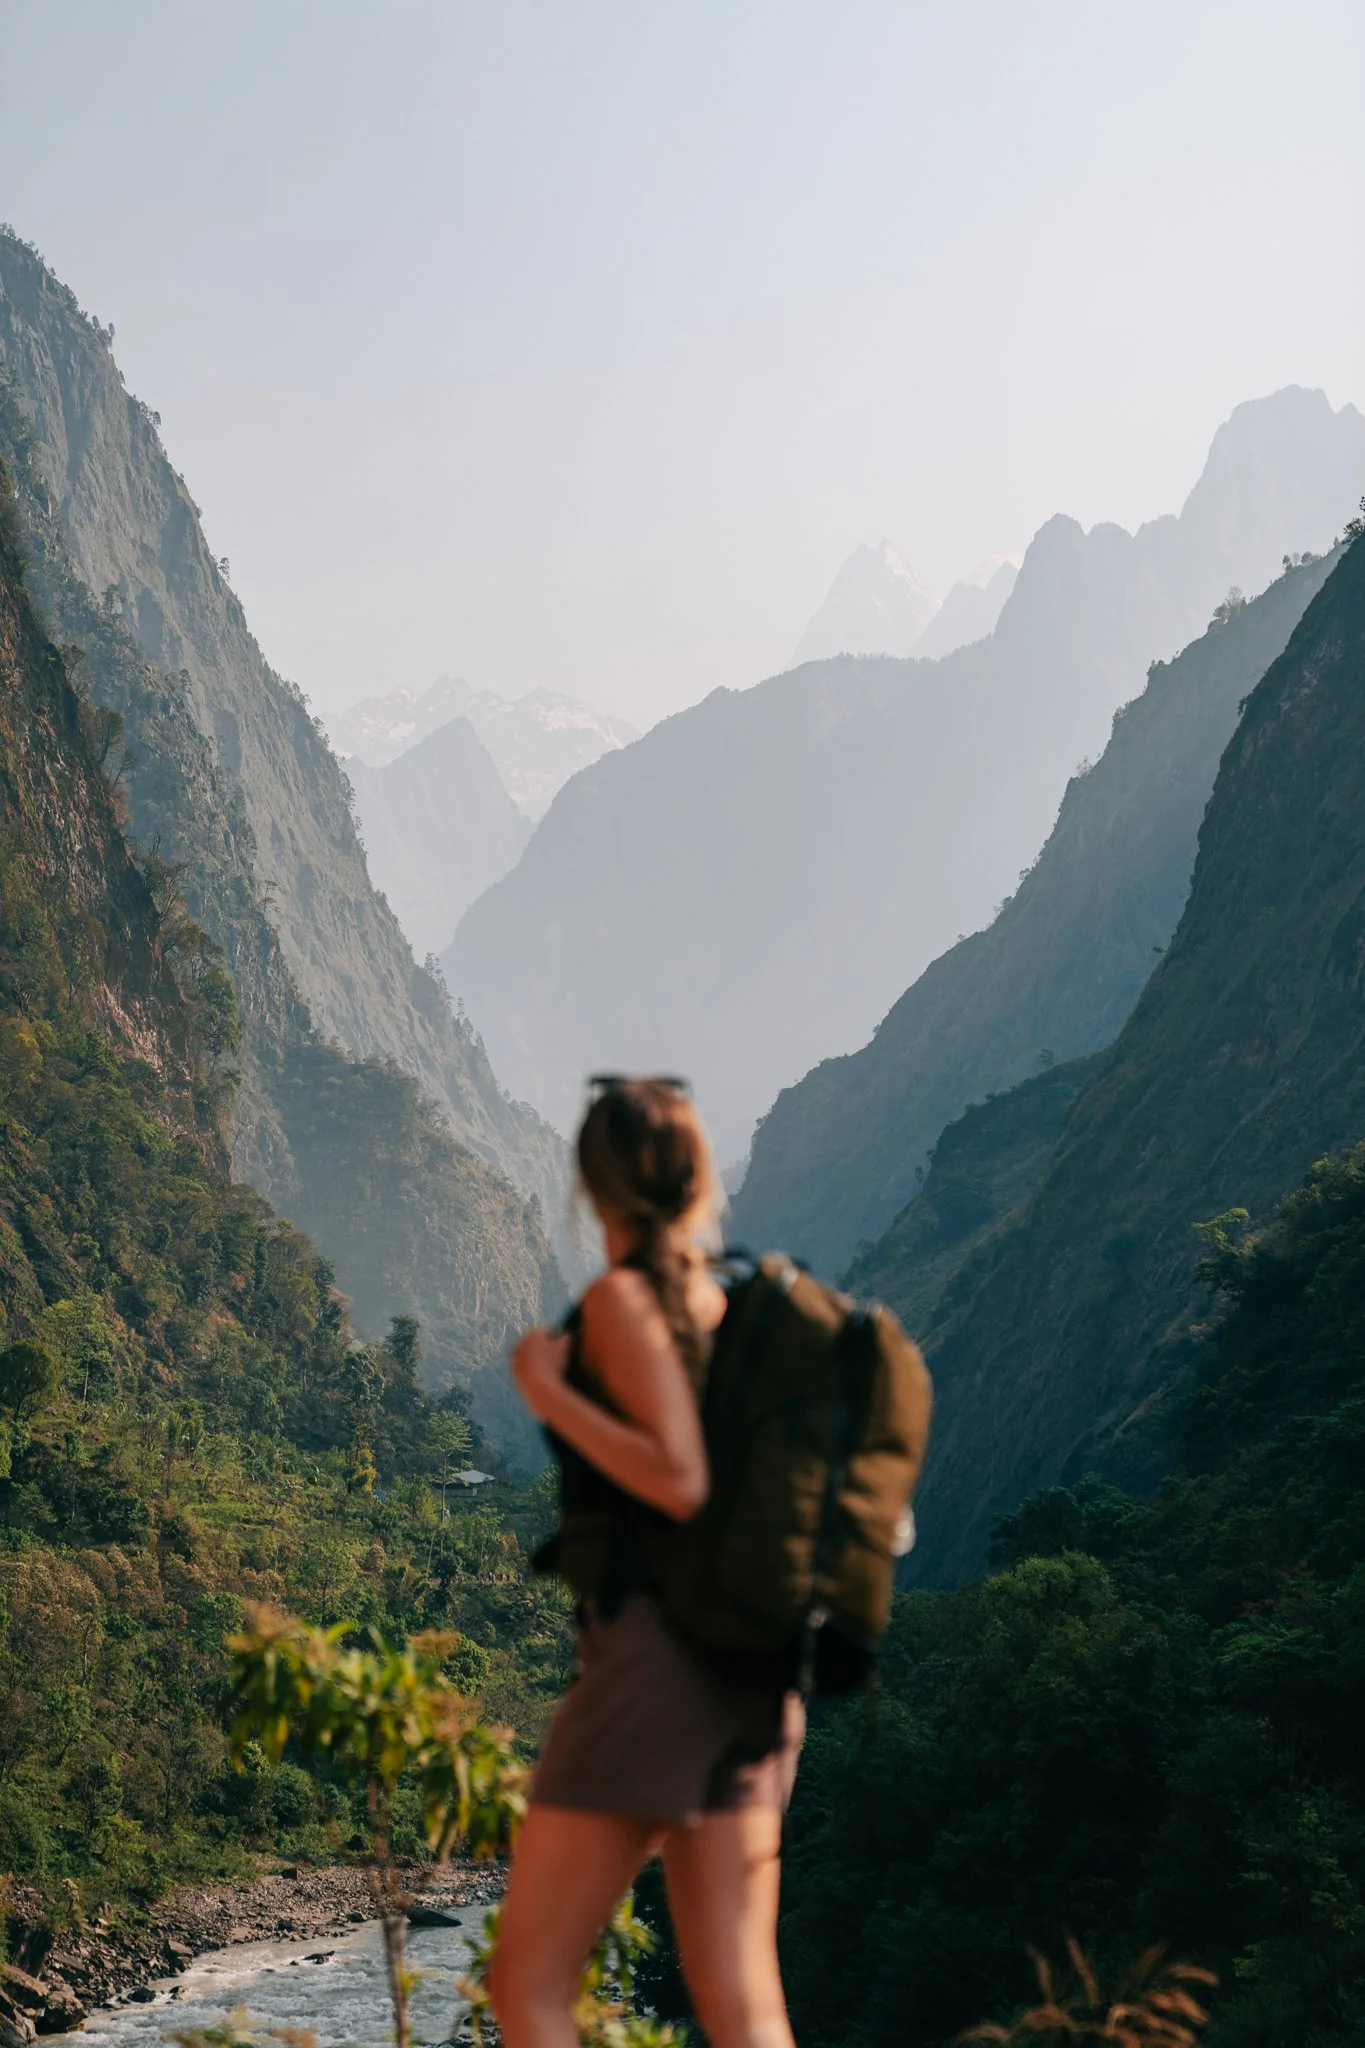
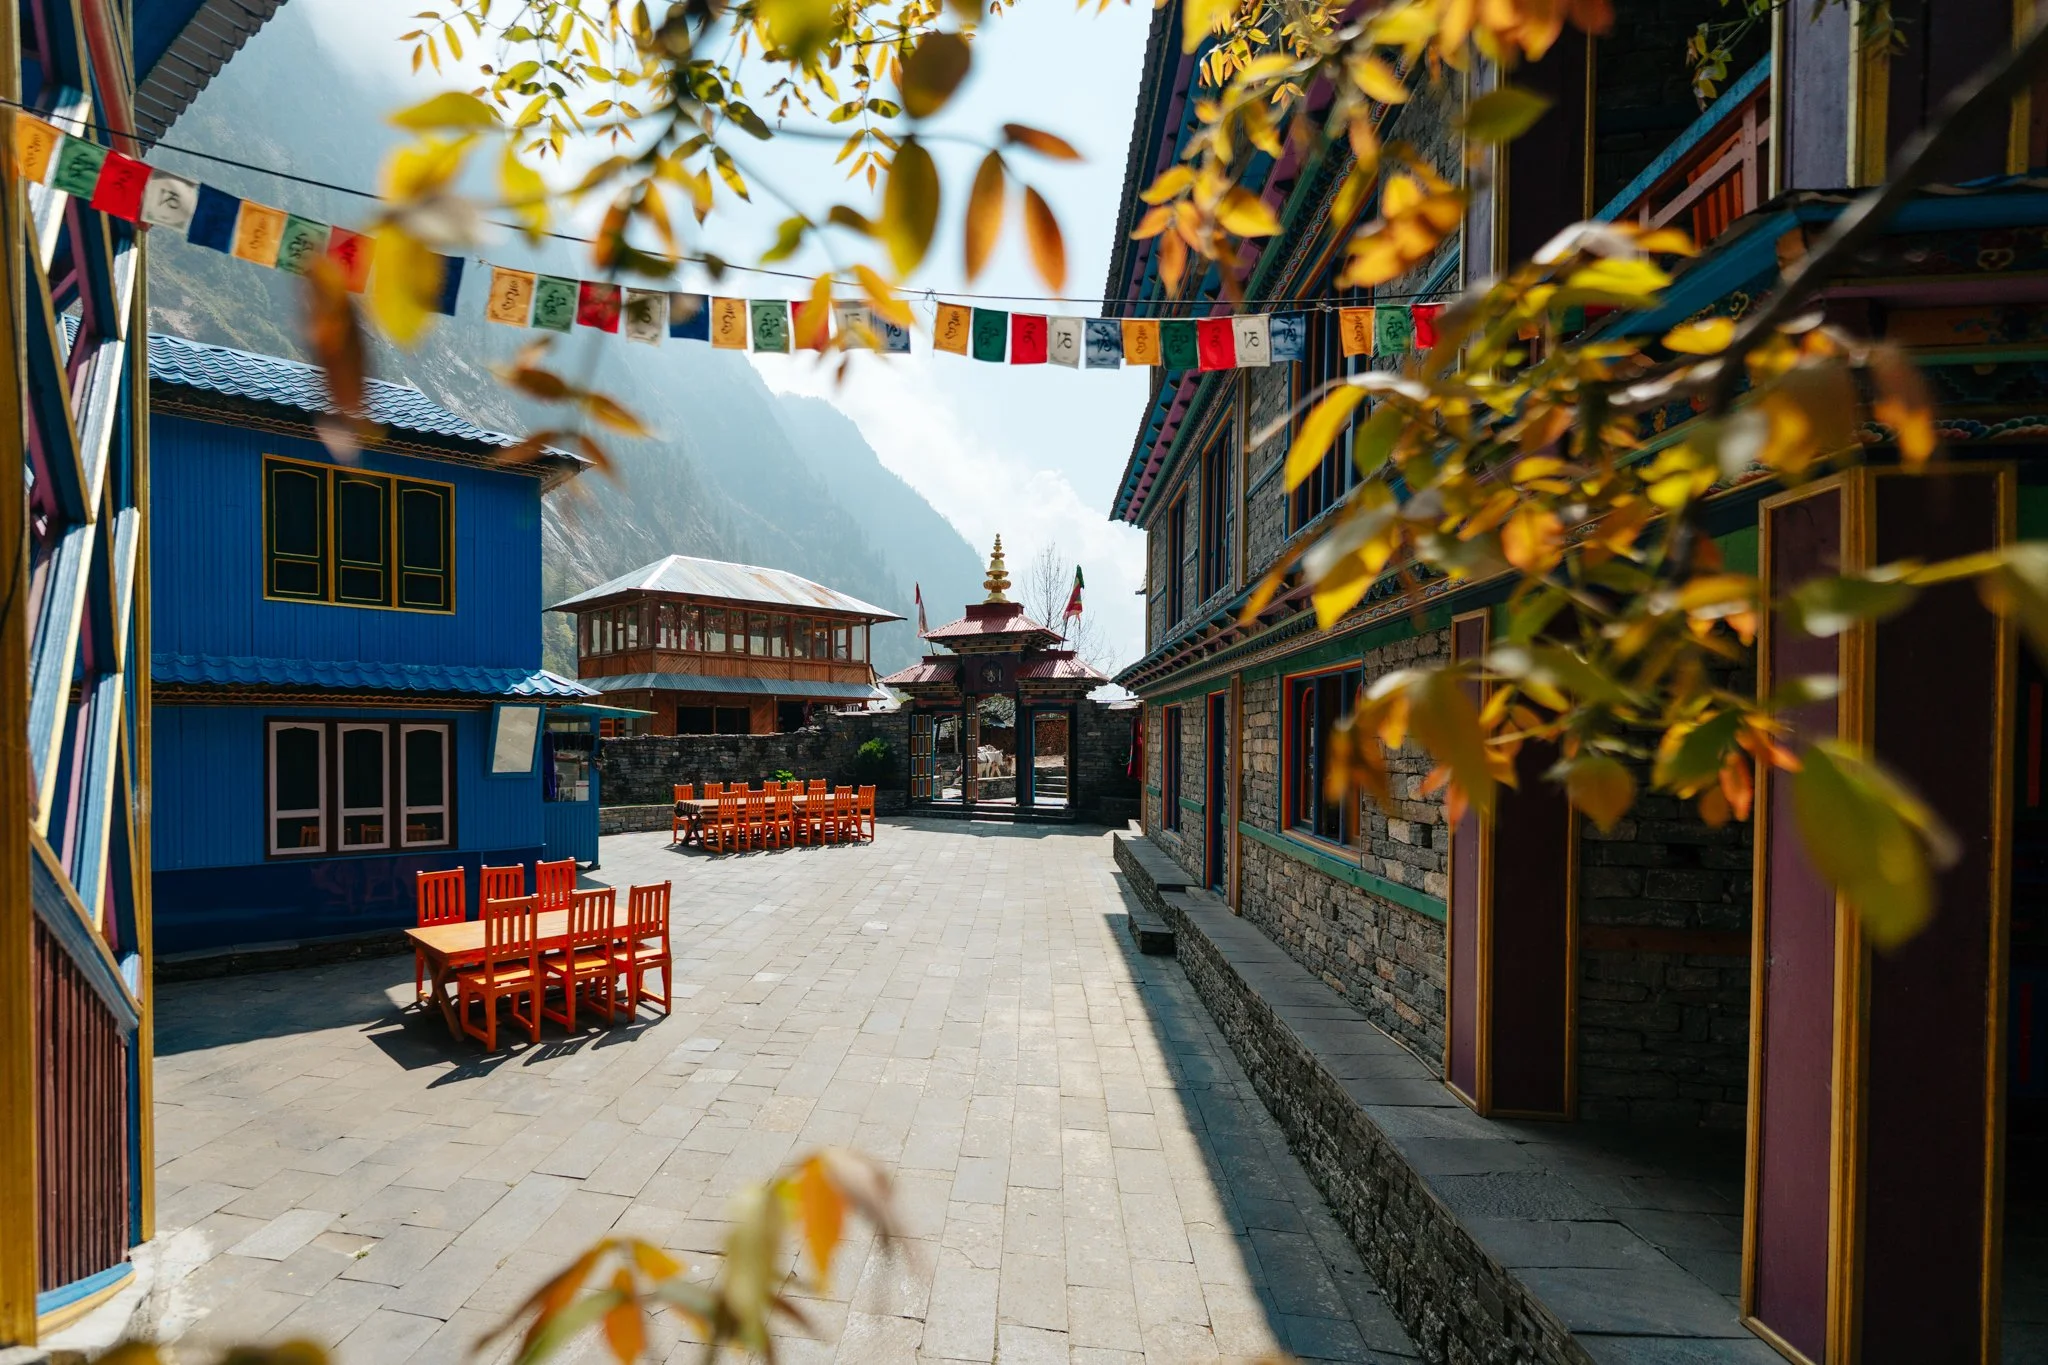
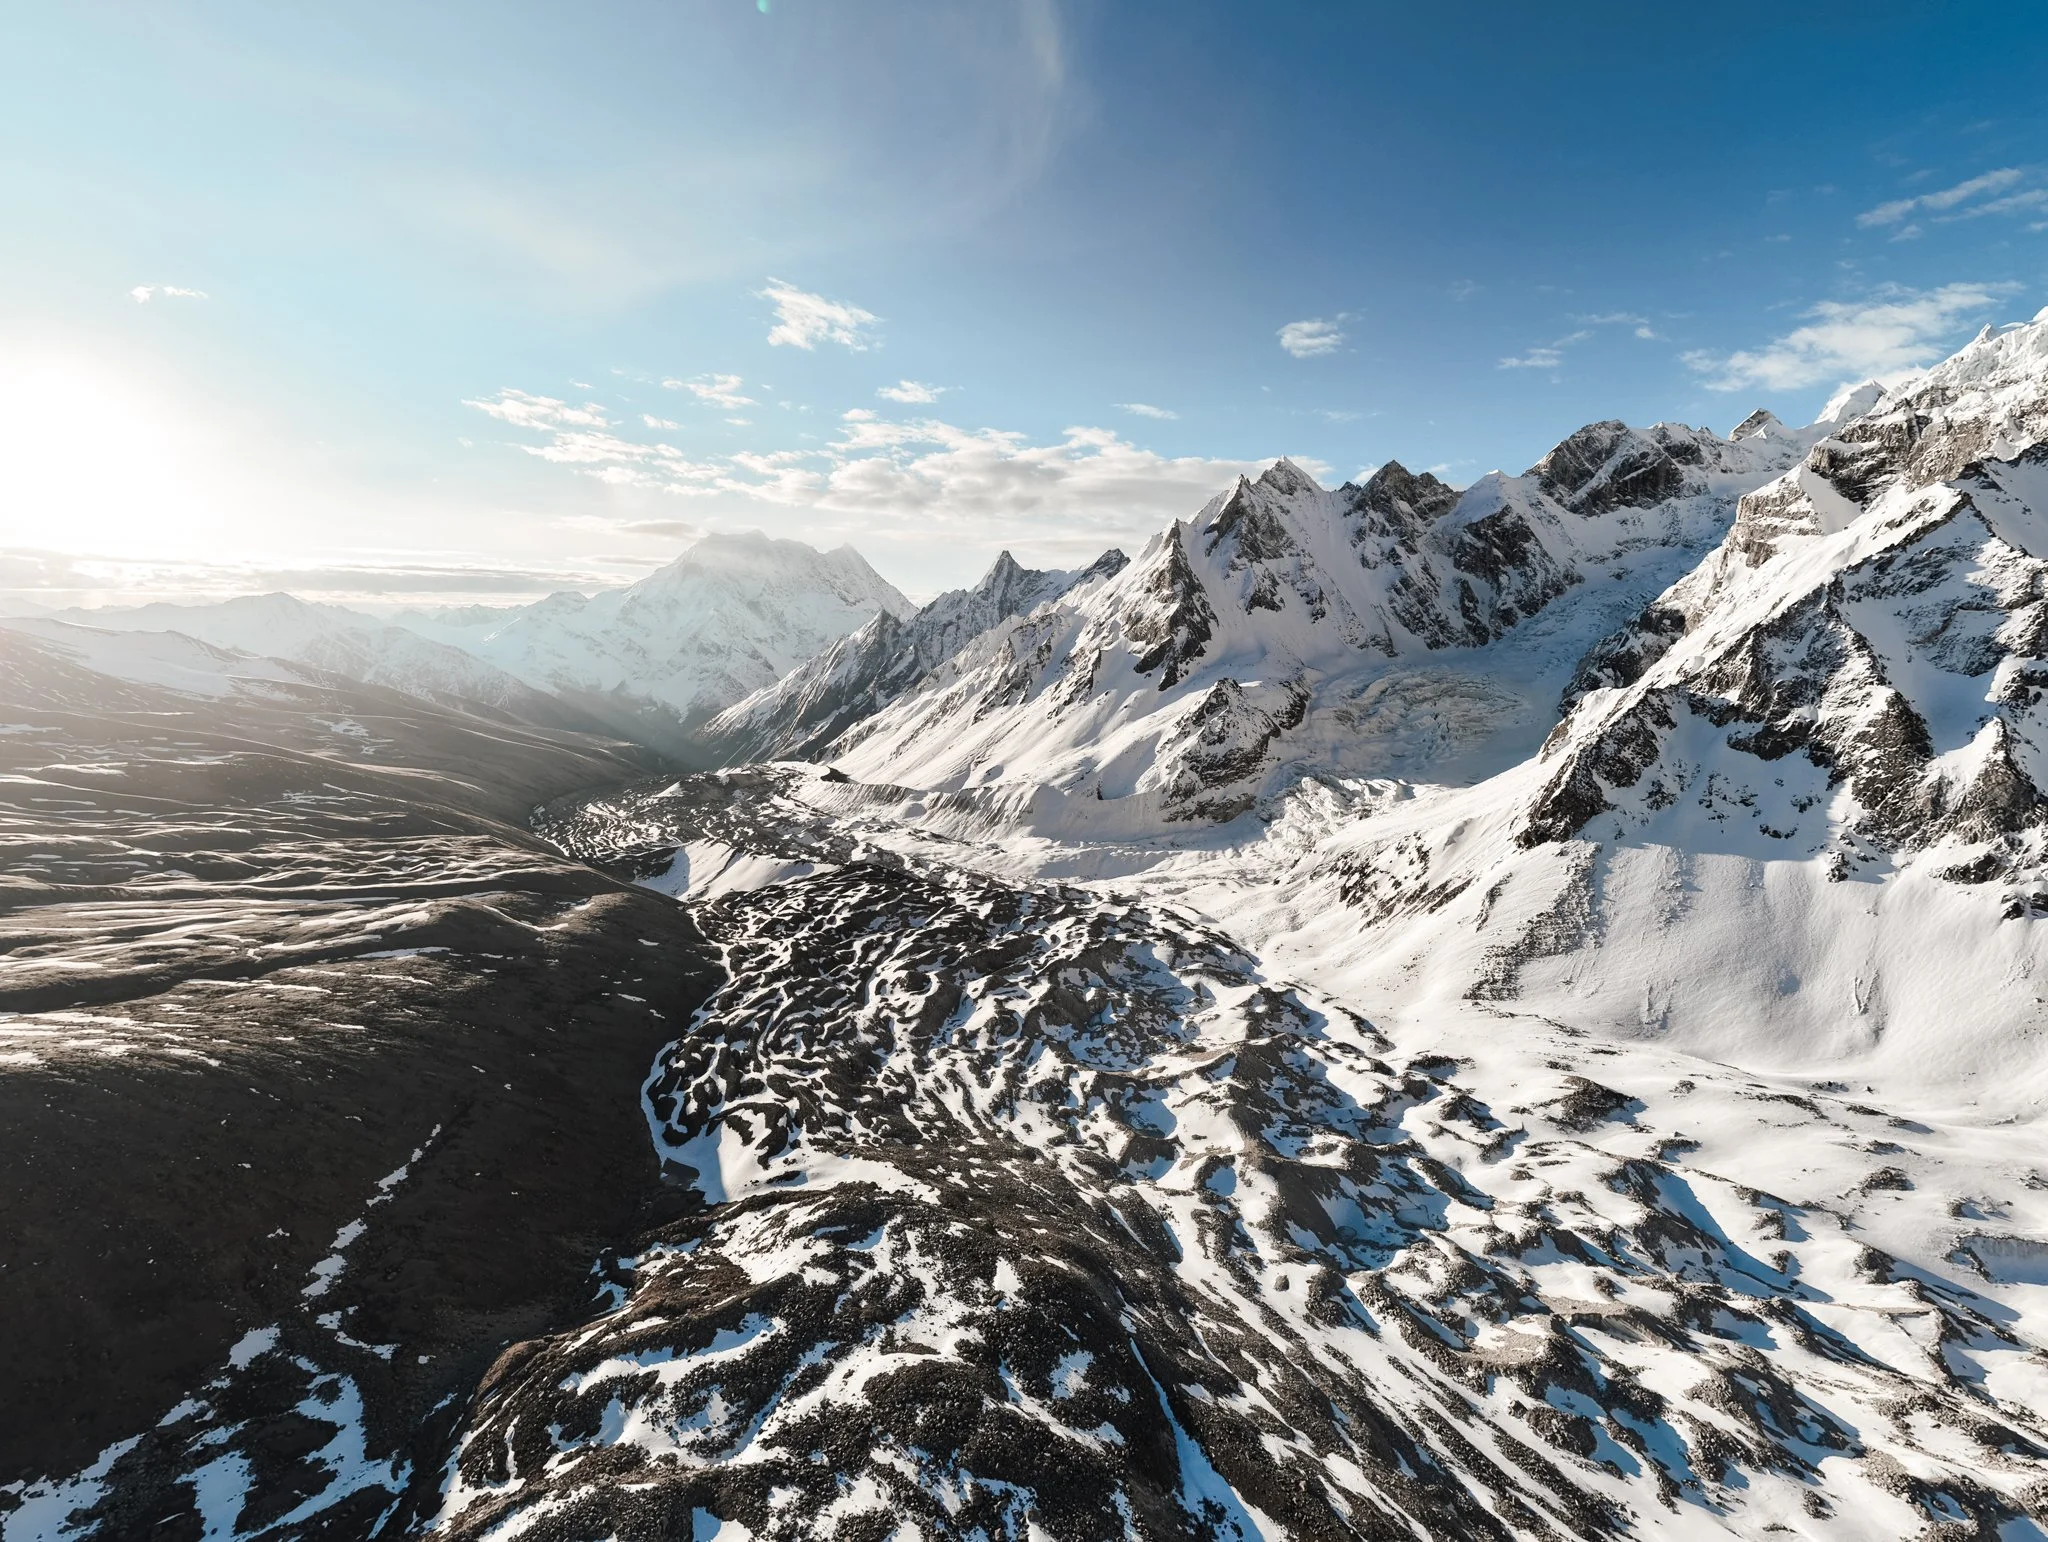
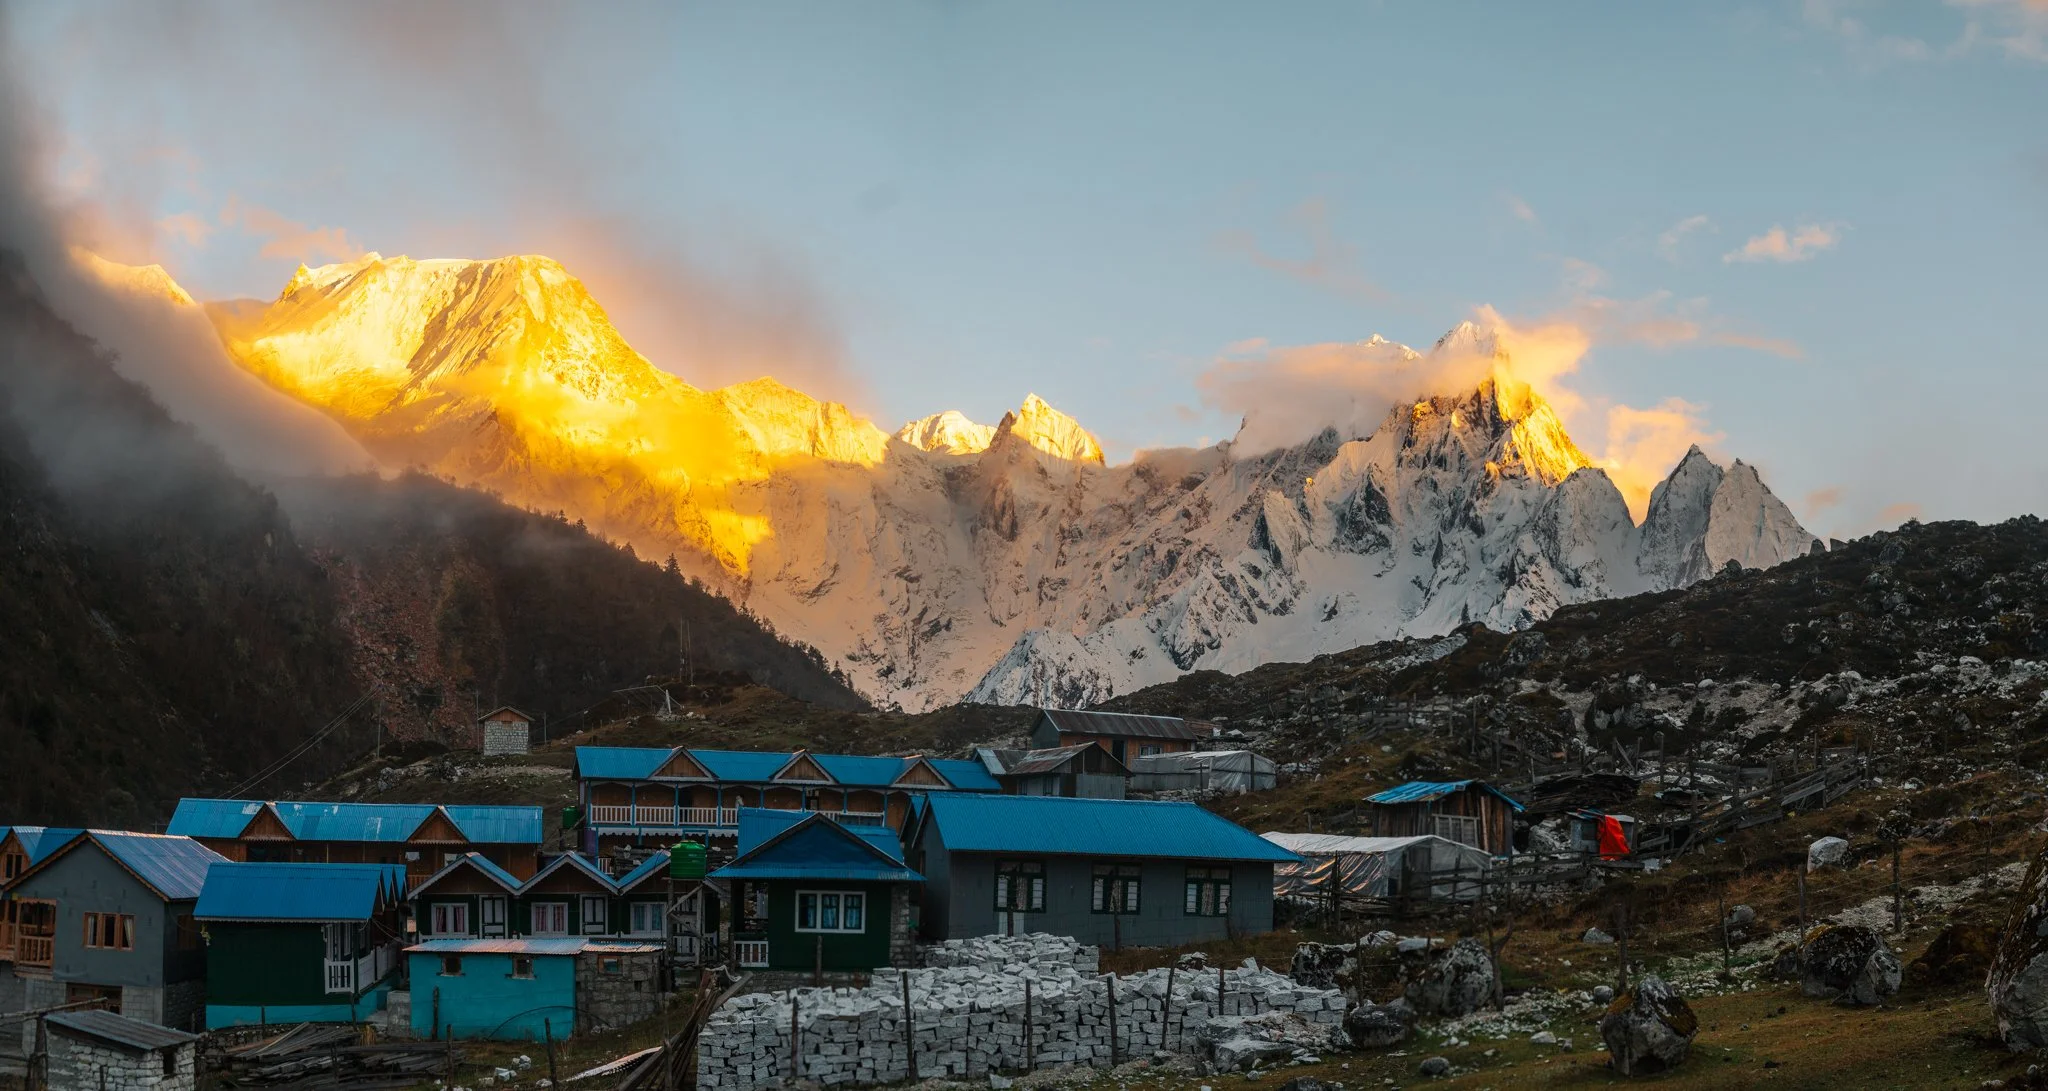
Before you reach out to anyone, learn what the trek actually is. Watch a few YouTube videos. Read at least two honest first-person accounts (mine is one, but read others too). Look at photos from different times of year. Understand that you'll be walking around the eighth-highest mountain in the world for ten days, crossing a 5,106-meter pass, and sleeping in basic teahouses with squat toilets and propane showers (when there are showers at all).
If you want my real, unfiltered day-by-day account of what those ten days actually feel like, including the dog bite, the broken camera, Saga Dawa in Samdo, and the moonlight start to Larkya La Pass, read my full Manaslu Circuit Trek Day-by-Day Itinerary here. It's the post I wish I'd had before I went.
Step 2: Reach Out to Ecuatraveling
Once you've done your research and decided this is something you want to do, go to the Ecuatraveling Manaslu Circuit page and send them an email or fill out their contact form. Ask them anything you want. They're very responsive, very kind, and will walk you through the entire process.
Some good questions to ask at this stage:
- What dates are still available in my preferred season?
- What's the latest cost? (Mine was $2,125 USD per person, minimum two trekkers, but always confirm the current rate.)
- Which permits do you handle for me?
- Can I request specific guides? (You can, and I'll tell you who to ask for below.)
- Do you offer a private jeep transfer to the trailhead instead of the public bus? (Yes, they do. Pay for the jeep. I cannot stress this enough.)
- What's the cancellation and date-change policy?
Step 3: Pick Your Dates Carefully
This is the most important logistical decision you'll make. Manaslu has two clear good seasons and two clear bad ones.
Best window: late April through mid-May
This is when I went, and I'd recommend it without hesitation. Spring flowers are in bloom in the lower valleys, snow is still on the high peaks for those gorgeous photographs, the lower valleys aren't yet too hot, and the higher elevations aren't yet too cold. April is hands down one of the most popular times to go because the weather is genuinely as good as it gets.
Second-best window: late September through early November
The fall window is also a great choice, with stable weather, clear mountain views, and slightly fewer trekkers than the spring peak. If you can't make April work, this is your other shot.
Avoid the shoulder seasons
I am genuinely begging you. Do not attempt this trek outside the two good windows. The shoulder months (December through March, and June through August) are dangerous because of snow on the pass in winter and heavy monsoon rain with landslide risk in summer. People die on this trail every year. The guides know the right windows for a reason. Trust them.
Step 4: Request Jiwan and Das
When you book, ask specifically for Jiwan as your guide and Das as your porter. They are the entire experience. Jiwan has crossed Larkya La Pass approximately 100 times, has been a licensed guide for over a decade, speaks five languages, and runs a noodle company in Kathmandu in his off-season. Das has been guiding for eight years, carried our heaviest bag for ten days in Air Force One sneakers without a single complaint, and once butt-slid down a snowy mountain pass with me to save us five minutes of hiking.
Use this exact language in your email if you want to:
Book with Ecuatraveling. You're truly in good hands. They'll help you every step of the way, and if you want to have the same guide and porter as me, just be sure to request Jiwan and Das. I don't have an affiliate link for booking this adventure or anything like that, but feel free to let them know Karlie sent you.
Step 5: Handle the Pre-Trip Logistics
Once your dates are locked in, you'll have a few weeks (or hopefully a few months) before you fly. Here's what to handle in that window. Don't skip any of these. They're listed in order of urgency.
Travel insurance
Get a real travel insurance policy that explicitly covers high-altitude trekking and mountain evacuation. Do not rely on credit card travel insurance alone. On my trek, my friend Paige had a medical incident and had to be evacuated by helicopter, and the credit card travel insurance she was relying on (Chase Sapphire Reserve) only covered medical-center-to-medical-center transfers, not mountain rescues. Her Garmin inReach with Star Insurance couldn't even locate her reliably. My Amex Platinum coverage couldn't be used because she wasn't a spouse or immediate family member.
I don't have a specific brand recommendation because I personally use my Amex Platinum coverage, but after watching what happened on this trip, I would absolutely buy a dedicated trekking-specific policy if I did this again. AXA offers a backpacker-specific travel insurance policy that's worth a look, and there are other companies that specialize in adventure travel coverage too.
One more thing I'd add if I were doing this trip again: camera insurance. I dropped and broke my Sony A7IV body and a $2,000 lens on day two of the trek. Most travel insurance policies don't cover photography equipment. There's a separate category of insurance called equipment insurance or photographer's gear insurance (companies like Lemonade, State Farm Personal Articles Policy, and Hiscox offer it) that's worth researching if you're flying expensive camera gear into a remote mountain environment. I will absolutely have this before my next trek.
Diamox prescription
Get a prescription for Diamox (acetazolamide) before you fly. I used Teladoc, did a 10-minute video consultation, the doctor asked about my altitude profile and prescribed acetazolamide 125mg twice daily, and I picked it up same-day at Walgreens. You cannot take it if you're pregnant or have liver issues, so talk to your own doctor first. Diamox prevents acute mountain sickness, it does not eliminate the altitude experience entirely.
Visa-on-arrival prep
Nepal offers a visa on arrival at the Kathmandu airport. Bring $50 USD cash to pay for it. The kiosk system is a little chaotic (Wi-Fi is spotty, browsers don't always work), so be patient. You'll need your passport number, intended duration in Nepal, and the address of your first hotel. Take a screenshot of the confirmation screen the moment your payment goes through, because the email confirmation can lag.
Cash strategy
Bring approximately $600 USD in cash, mostly in small bills. Here's how that breaks down:
Recommended Daily Tipping
Your Guide
$15
PER DAY
Your Porter
$10
PER DAY
× 10 days on trail = $250 cash for tips
Over-tip if you can. It goes a long way.
The other ~$350 covers your $50 visa, a buffer for incidentals on the trail (I bought a scarf and a few water bottles), small purchases in Kathmandu, and your day in Hong Kong or wherever your layover is. Important note about cash on the trail: my guide Jiwan was the one paying for everything along the way, and I just paid him back at the end. If you'd prefer to do it this way, communicate it with your guide upfront so there's no awkwardness. It's simpler than fumbling for small bills at every village shop.
Get small denominations from your bank before you fly. Nepali villages don't have change for $100 bills.
SIM card or eSIM
You'll have spotty connectivity on the trail no matter what, but for your Kathmandu days and the lower-altitude villages, having a local SIM helps. Pick one up at the Kathmandu airport on arrival. It's fast, cheap, and the SIM kiosks are right outside baggage claim. Or use an eSIM service like Airalo if you prefer not to swap physical cards. Either way, don't rely on roaming on your US carrier, it's expensive and often doesn't work in the higher villages anyway.
Tell your bank
Call your bank or credit card company before you fly and let them know you'll be in Nepal. Otherwise the first time you try to use your card in Kathmandu, it'll get flagged for fraud and locked. Same for your debit card if you're planning to use ATMs.
Step 6: Book Your Flights
Once your trek dates are locked in, time to book flights. You'll fly into Kathmandu (KTM). There's no shortcut here, it's a long-haul trip from anywhere in the US.
Use Google Flights and let it watch the price
This is my biggest flight-booking hack. Go to Google Flights, search for your dates, and once you've found the route you want, click the "Track Prices" toggle. Google will email you whenever the fare drops. Don't book the first price you see. Watch the trend for at least a couple of weeks if you have the time.
For the date range itself, use the "flexible dates" view, sometimes shifting your departure by a day or two saves hundreds of dollars without changing your trek dates.
Consider a Hong Kong layover
If you're flying on Cathay Pacific (one of the better airlines for getting into Kathmandu from North America), you can do a long layover in Hong Kong on the way out, the way back, or both. I had a 12-hour layover and made the most of it: rode the Victoria Peak tram, ate mango mochi, hit a Michelin-starred sago dessert spot, and had a peak experience at Halfway Coffee. It was a perfect break in the long-haul journey.
Cathay also has a more formal stopover program where you can spend 24 hours or more in Hong Kong with discounted hotels included. Worth looking into if your schedule allows.
Step 7: Train (a Little, If You Want)
I'm going to be honest with you about this section because most Manaslu booking guides oversell the training requirement.
I'm a fairly naturally athletic person, and I didn't do any specific training for this trek beyond my regular life routines. It was one of the harder things I've ever done, but not because it was physically taxing in a sprint-the-final-lap kind of way. It was hard because it was long. Day after day after day, you wake up and you walk again. The challenge is more mental than physical.
That said, if I were going to prepare deliberately and had the willpower to plan ahead, I'd hit the StairMaster at least twice a week for an hour at a time in the two months leading up to the trip. The StairMaster mimics the actual movement of the trek (sustained uphill climbing with a slight backpack load) better than almost anything else. It'd help with both your legs and your cardio.
But honestly? If you have a reasonable baseline level of fitness, you can probably do this trek. I basically lost two of my toenails and had blisters the entire time, and I still came home remembering only the good parts. The mental side is what you really need to be ready for.
Step 8: Pack — and Bring Something to Give Away
Once you've handled all of the above, the last thing to do before you fly is actually pack your bag. I wrote a whole separate post on this with quantities, brand recommendations, and a free printable PDF checklist: read my full Manaslu Circuit Trek packing list here.
⭐ FREE PRINTABLE PACKING LIST PDF
I made a printable PDF version of my complete packing list, with the exact quantities I packed and which items I'd never go without. Get the free printable packing list here.
You'll also get my Sunday newsletter, We're Going Places, with behind-the-scenes from my next trips.
The one thing I wish I'd packed: gifts to give away
This is the section I'm most excited to write because nobody else talks about it, and it's the thing I'd do differently if I went back tomorrow.
Pack some gently-used items you're ready to part with, and gift them away to people you meet on the trail.
I'm a travel photographer and content creator, which means brands send me gear, clothing, and shoes constantly. I have leftover gifted Nikes from back when I was a college athlete. I have hiking boots I've worn twice. I have trainers in great condition. I have base layers and fleeces and small toiletries piling up at home faster than I can give them to family.
It would have meant so much to me to bring some of these items, tied to the outside of my backpack, and gift them to people in the rural villages we walked through. The kids running around the teahouses, the woman who let me into her home to watch her knit, the men around the hearth at night, the tea hut owners who shared their lives with us. Items like:
- Gently-used hiking boots, trainers, and sandals in good condition, sized for a range of feet
- Clothing items you've outgrown or stopped wearing, especially warm layers and rain shells
- Small toiletry kits — a few unopened bars of soap, travel-size toothpaste, lip balm, sunscreen samples, hand cream
- Small goodie bags for kids — stickers, small toys, hair clips, art supplies, anything cheerful and durable
It would have been a small logistical pain to haul those things to Nepal, but I would have walked out of the country lighter, and I know it would have made a meaningful difference to someone. Next time, I'm making five or six small goodie bags and bringing them with me. The kindness goes both ways on this trail. The trekkers receive an enormous amount of it. It feels right to give some back.
Step 9: Do the Hike
You've done the research. You've booked the dates. You've got the guides you wanted. You've sorted insurance, Diamox, cash, and flights. You've packed your bag and made room for a few things to give away.
Now you just get on the plane.
Don't overthink it from here. The guides will take care of every logistical detail once you land in Kathmandu, from airport pickup to permits to teahouse bookings to the bus or jeep to the trailhead. Your job is just to show up, eat the fruit plate every morning, drink the mint tea, take photos when the mountains let you, and keep walking. The trail will do the rest.
If you want the day-by-day version of what those ten days actually look like (the dog bite, the broken camera, Saga Dawa in Samdo, the moonlight start to Larkya La), it's all in my full Manaslu Circuit Trek Day-by-Day Itinerary.
Ready to Book?
Truly, you're in good hands with Ecuatraveling. They will help you every step of the way. Request Jiwan and Das, tell them Karlie sent you, and start the most extraordinary two weeks of your life.
Connect with me on Instagram · TikTok · YouTube · Linktree
This post contains some affiliate links. Booking through my links supports this blog at no extra cost to you. I am not affiliated with Ecuatraveling and receive no commission for recommending them.